Ironing custom designs onto foam trucker hats offers a durable, vibrant, and professional-looking finish that can elevate your brand visibility and product offerings. This technique is popular among wholesale providers looking to deliver high-quality apparel accessories while maintaining efficiency and cost-effectiveness. Understanding the proper methods and best practices for pressing designs onto foam trucker hats ensures you produce consistent, flawless results that meet industry standards. Whether you are adding a logo, slogan, or personalized artwork, following a systematic process tailored to foam trucker hats will maximize your production quality, customer satisfaction, and business growth.
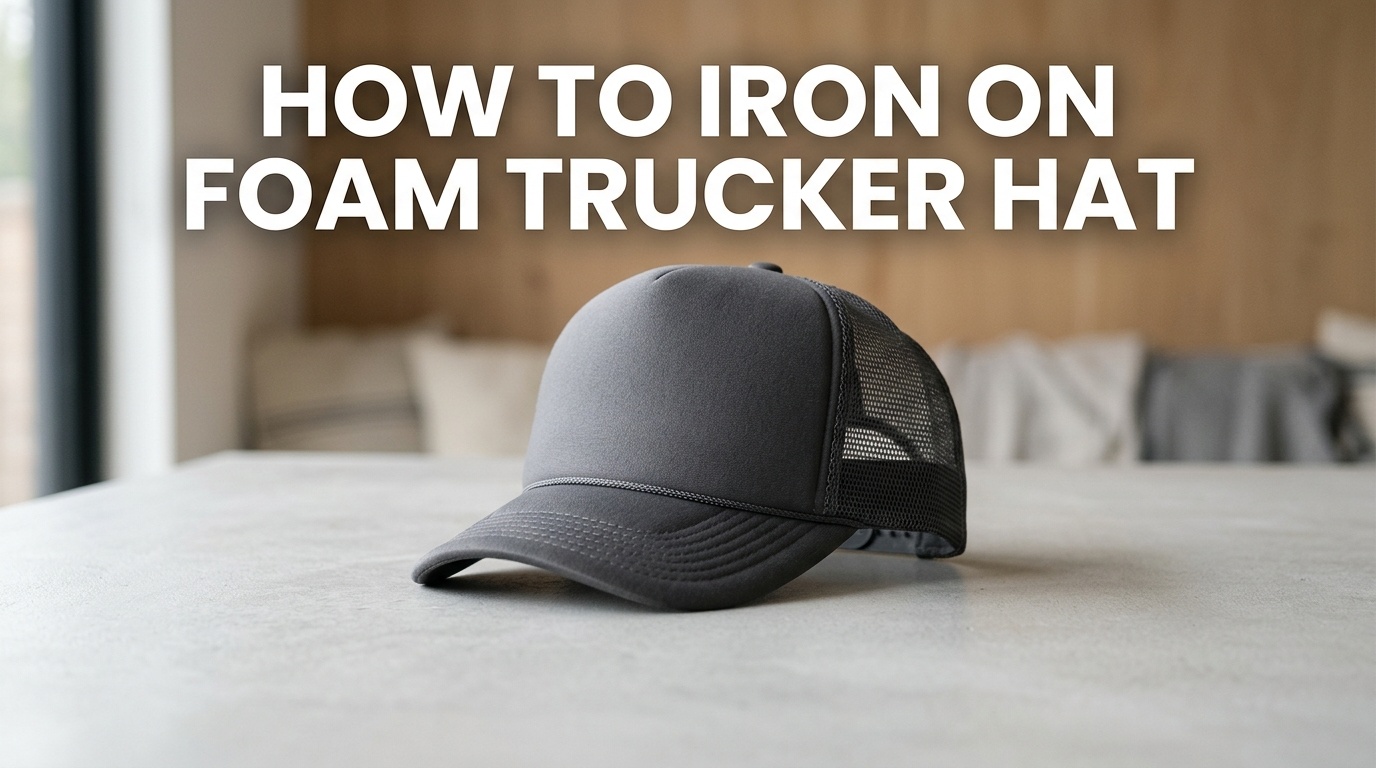
Understanding Foam Trucker Hats and Their Material Composition
Material Overview
Foam trucker hats typically consist of a foam front panel combined with a mesh back, making them lightweight, breathable, and popular for promotional giveaways and custom branding. The foam front is usually made from polyethylene, polyurethane, or polystyrene, which are receptive to heat transfer applications when properly prepared. The mesh back provides ventilation but does not affect the heat pressing process, allowing for flexible customization options across the entire cap.
Why Material Matters
Identifying the exact foam type and its heat tolerance is critical in choosing the right pressing conditions. Overshooting temperature or pressing duration can lead to melting, warping, or delamination of the foam, ultimately damaging the product’s appearance and durability. Ensuring that your materials are compatible with your heat transfer method helps to deliver high-quality, consistent results that meet or exceed your clients’ expectations.
Preparing for the Iron-On Process
Gathering Supplies and Equipment
- Heat press machine with adjustable temperature and pressure controls
- High-quality heat transfer vinyl (HTV) or custom-cut heat transfers suitable for foam surfaces
- Silicone or Teflon sheets to protect the foam during pressing
- Clean cloth or alcohol-based cleaner for prep
- Scissors or plotter cutter for custom designs
- Measuring tape or ruler for precise placement
Design Considerations
When creating or choosing a design for foam trucker hats, opt for simple, bold graphics with minimal fine detail. Intricate designs may not transfer well due to the textured foam surface and can result in peeling or uneven application. Vector graphics are ideal, ensuring sharp edges and scalable size for consistent results. Remember to mirror your design if applying via heat transfer vinyl, and leave appropriate margins for seam allowance and hat contours.
Step-by-Step Guide to Ironing on Foam Truckers
1. Prepare the Hat and Workspace
Start by cleaning the foam front panel with a lint-free cloth and isopropyl alcohol to remove oils, dust, or debris that might hinder adhesion. Lay the hat on a flat, heat-resistant surface, ensuring it is stable and properly positioned. Use a hat blocker or form to maintain shape during pressing, if available, to prevent warping.
2. Position the Design
Measure and mark the desired placement of your design using a ruler or template. Make sure the design is centered and aligned properly, avoiding the seam or brim edge where uneven pressure could cause misadhesion. Carefully position the heat transfer or HTV onto the foam surface, smoothing out any wrinkles or bubbles with a silicone roller or your fingers covered with a protective sheet.
3. Configure the Heat Press
Set your heat press to an optimal temperature — generally between 280°F and 320°F — depending on the transfer material instructions. Adjust pressure to medium or firm, ensuring sufficient contact without deforming the foam. Preheat the press briefly to stabilize temperature and allow the hat to acclimate to the environment.
4. Perform the Transfer
Place a silicone or Teflon sheet over the design to act as a barrier and prevent direct contact with the heat platen. Close the press gently but firmly, applying even pressure. Maintain the pressing time typically between 10 to 15 seconds; refer to your transfer material’s specifications for precise timing. Avoid excessive pressure or prolonged pressing to prevent damaging the foam.
5. Cooling and Peeling
Once the pressing cycle completes, carefully lift and remove the silicone sheet while the transfer is still warm—unless your material specifies otherwise. Allow the transfer to cool for a few seconds to set properly, minimizing peeling or lifting of the design. Gently peel off the backing, ensuring the design has adhered fully to the foam surface.
Post-pressing Quality Checks and Finishing
Inspect for Flaws
Examine the design for uniform adhesion, smooth edges, and no signs of bubbling, lifting, or warping. If imperfections are noted, assess whether adjustments in temperature, pressure, or pressing time are needed for future applications.
Additional Finishing Touches
Optional: For added durability, some businesses apply a clear heat-seal or protective coating over the design. Alternatively, trimming excess transfer material or reinforcing edges can enhance the visual appeal. Always confirm that any post-pressing treatments do not compromise the foam’s integrity or its breathability.
Best Practices and Troubleshooting
Ensuring Consistency and Longevity
- Always perform test presses on scrap or sample caps before proceeding with bulk orders.
- Maintain consistent machine settings, and document optimal parameters for each design or material type.
- Utilize high-quality, Vendor-approved transfer materials designed specifically for foam surfaces.
- Store finished caps in a cool, dry environment to prevent warping or deterioration of the design.
Common Challenges and Solutions
- Peeling or Lifting: Ensure correct temperature, pressure, and cooling times. Use a proper backing layer during pressing and follow manufacturer’s guidelines.
- Melting or Warping: Reduce temperature or pressing time. Avoid over-pressing or applying excessive heat.
- Uneven Adhesion: Confirm even pressure distribution and proper design placement. Use a silicone overlayer for better heat transfer.
- Design Fading or Cracking: Use dyes and transfer materials compatible with foam, and follow storage and handling recommendations.
Partner with the Experts
For wholesale providers aiming to scale their customization services with confidence, partnering with a trusted manufacturer can streamline your process and ensure consistent quality. Custom Hats Golf boasts low minimum order quantities (as low as 100 units), affordable international shipping, over seven years of industry experience, and is ISO 9001:2015 certified. Our expertise supports your growth, helping you deliver professional, durable, and high-impact foam trucker hats to your clients. Elevate your brand and expand your offerings by collaborating with industry leaders committed to quality and your success.