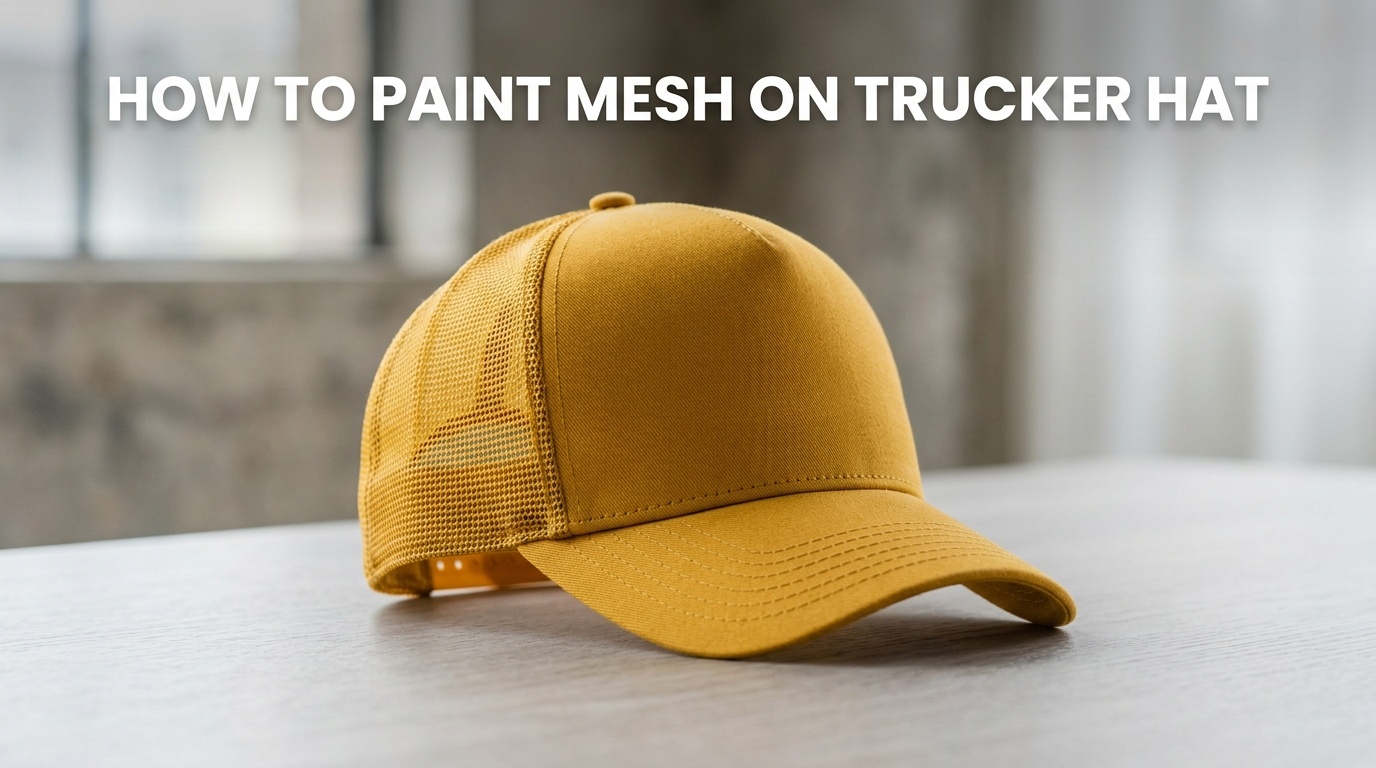
Painting mesh on trucker hats offers a unique avenue for brands and wholesalers to create customized headwear that stands out. Whether you’re designing for promotional events, retail collections, or bespoke corporate gifts, mastering the techniques of painting mesh ensures durable, vibrant results that meet professional standards. This guide provides a comprehensive overview of the process, materials, and best practices to help you deliver high-quality, customized trucker hats that elevate your product offerings and satisfy your clients’ needs.
Understanding the Material: Mesh on Trucker Hats
What Is Mesh Fabric?
Mesh fabric used on trucker hats is typically made from a lightweight, breathable polyester or nylon material. Its open weave structure allows air circulation, making it ideal for activewear and casual accessories. For painting purposes, understanding the textile’s composition is vital, as it affects paint adhesion, drying time, and durability.
Challenges of Painting Mesh
- Porous Surface: Mesh’s open weave can cause paint to bleed or spread unevenly.
- Fragility: Thin fibers require delicate handling to avoid damage.
- Adhesion: Ensuring paint bonds effectively without peeling or cracking over time.
Benefits of Custom-Painted Mesh
- Enhanced brand visibility with unique designs.
- Ability to produce limited editions and bespoke designs.
- Adding value for retail and wholesale clients seeking distinctive merchandise.
Preparing the Mesh Surface for Painting
Cleaning and Prepping the Hat
Proper preparation is critical. Begin by gently cleaning the mesh with a mild soap solution to remove dust, oils, or manufacturing residues. Use a soft cloth or sponge, and ensure complete dryness before proceeding. This step enhances paint adhesion and prevents bleeding.
Securing the Hat
Use a hat stand or form to maintain the hat’s shape. Secure the hat on a flat, stable surface using clamps or weights to prevent movement during painting. Ensuring stability reduces errors and enables precision craftsmanship.
Masking Non-Paint Areas
Shield areas of the hat that you do not wish to paint, such as the front panel (if only painting the mesh), the brim, or branding elements, using painter’s tape or masking film. Correct masking is essential to achieve clean, professional edges in your designs.
Choosing the Right Paints and Inks
Suitable Painting Mediums
- Acrylic Fabric Paints: These are popular due to their vibrant colors, flexibility, and durability. Ensure they are suitable for synthetic fabrics.
- Paints with Flexibility: To prevent cracking when the hat stretches or folds, select paints that retain elasticity after drying.
- Screen Printing Inks: For larger runs or more uniform designs, water-based inks compatible with mesh fabrics are a good choice.
Color Selection and Colorfastness
Select paints with excellent colorfastness properties to withstand washing, sun exposure, and normal wear. Opt for brands tested for fabric applications to ensure longevity of your designs.
Preparing Paints
Follow manufacturer instructions for mixing and thinning paints. Use appropriate thinner or fixatives if recommended, ensuring proper viscosity for the intended application method.
Applying Paint to Mesh: Techniques and Tips
Methods of Application
- Brush Painting: Ideal for detailed, intricate designs and small batches. Use fine, soft-bristled brushes for precision.
- Stencil and Masking Techniques: For repeatable patterns or logos, employing stencils can improve consistency and speed.
- Spray Painting: Suitable for larger, uniform areas or background fills. Use a controlled spray gun or airbrush with thin layers to prevent bleeding.
Step-by-Step Painting Process
1. Base Coat Application
Apply a thin base coat using spray or brush, allowing sufficient drying time between coats. Multiple light layers prevent unevenness and bleeding.
2. Adding Details and Patterns
Use smaller brushes or stencils to add detailed designs. Patience and steady hands are essential for crisp edges.
3. Drying and Curing
Allow paints to air dry in a dust-free environment. For added durability, some paints require heat setting with an iron or curing oven. Always follow the manufacturer’s directives.
4. Sealing the Design
Apply a clear, flexible fabric sealant or topcoat to protect your artwork. This step enhances washability and prevents peeling or cracking.
Ensuring Quality and Durability
Testing and Quality Checks
- Wash the painted hat on a gentle cycle after the paint has fully cured to assess durability.
- Inspect for peeling, cracking, or bleeding of colors.
- Adjust techniques based on test results, such as increasing drying time or applying additional sealant layers.
Best Practices for Wholesale Production
- Standardize preparation and application processes for consistency across batches.
- Maintain a clean environment to prevent contamination or dust settling on wet paint.
- Invest in quality tools and materials to meet professional standards and reduce rework.
Scaling Your Business with Customized Mesh Trucker Hats
Design Innovation and Market Trends
Keep abreast of current fashion and branding trends to offer designs that resonate with target audiences. Collaborate with designers or utilize digital mockups to streamline the creative process.
Cost Management and Efficiency
By refining your painting techniques and sourcing quality yet affordable materials, you can optimize production costs. Implement batch processing for uniformity and efficiency in wholesale operations.
Partner with the Experts
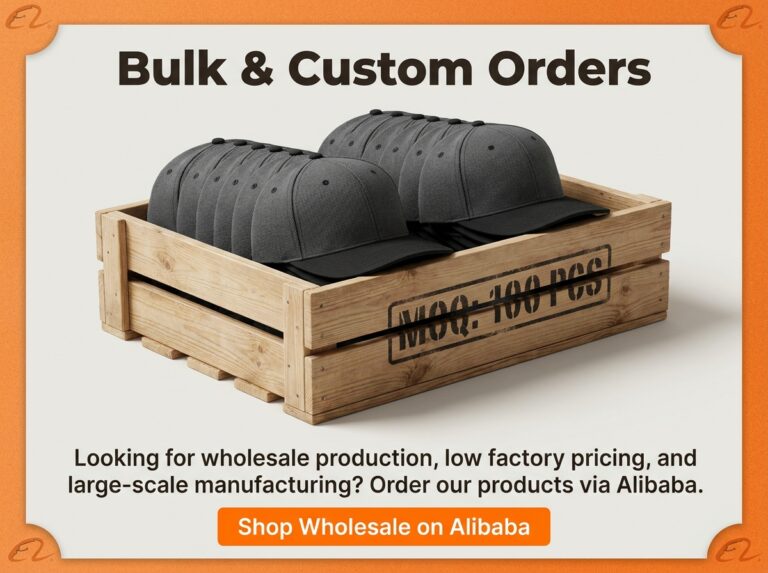
To elevate your brand with high-quality, custom-painted mesh trucker hats, consider partnering with customhatsgolf.com. With a low MOQ of just 100 units, competitive international shipping costs, over 7 years of industry experience, and ISO 9001:2015 certified manufacturing, they provide reliable solutions for wholesale buyers looking to expand their product portfolio with custom headwear tailored to professional standards.