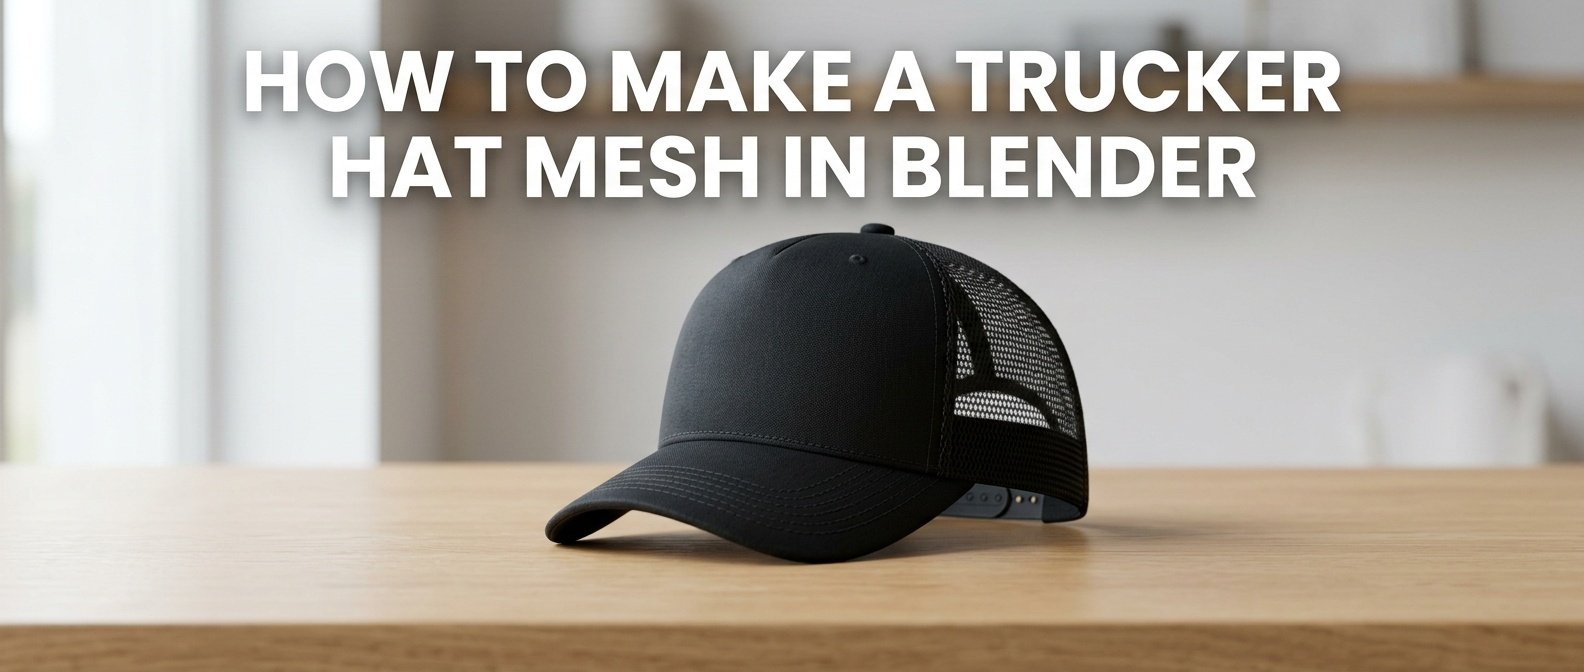
Designing a realistic and customizable trucker hat mesh in Blender can significantly enhance your product lineup, especially for wholesale clients seeking high-quality, eye-catching headwear. Mastering this process involves understanding both the fundamental modeling techniques and the specific nuances of mesh creation that ensure durability, comfort, and visual appeal. In this guide, we will walk through the essential steps of crafting a convincing trucker hat mesh in Blender, emphasizing professional standards suited for business applications and scalable manufacturing.
Understanding the Components of a Trucker Hat
Before diving into modeling, it’s important to understand the key elements of a typical trucker hat. Standard components include the structured front panel, the flexible bill or brim, the mesh backing, and the adjustable strap. The mesh is a critical component, providing ventilation while maintaining a lightweight feel. Accurate modeling of this mesh ensures the final product is both functional and aesthetically aligned with market expectations.
Setting Up Your Blender Workspace for Hat Modeling
Preparing Reference Images
Begin by sourcing accurate reference images of trucker hats from multiple angles. These images serve as visual guides for proportion, curvature, and mesh pattern details. Incorporate front, side, and top views into your Blender workspace using the background image tool to ensure precision throughout the modeling process.
Configuring Units and Scale
To maintain consistency with manufacturing dimensions, set Blender’s units to metric or imperial based on your target market. This setup helps translate your design into manufacturing specifications, ensuring the mesh is accurately scaled for production.
Modeling the Cap Structure
Creating the Base Shape
- Start with a cylinder mesh, adjusting the radius and height to approximate the overall dimensions of the cap.
- Use the scale and move tools to tweak the proportions, ensuring the crown shapes naturally around the head form.
- Apply a subdivision surface modifier for smoothness, refining the shape while preventing unnecessary complexity.
Forming the Front Panel
- Separate the front panel area by selecting faces and extruding or separating them into a new object.
- Refine the curvature to align with typical cap contours, using proportional editing for natural shaping.
- Add bead lines or seam details if desired, which can be embedded later as part of the mesh.
Modeling the Mesh Backing
Creating the Mesh Pattern
The mesh backing of a trucker hat is typically a grid or honeycomb pattern that provides ventilation. To model this:
- Add a plane object scaled to the size of the mesh area.
- Enter edit mode and subdivide the plane into a grid with sufficient segments to detail the mesh pattern.
- Use the knife or loop cut tools to create additional support lines if a honeycomb pattern is desired.
- For a realistic mesh appearance, incorporating a slight bend or curvature mimicking the cap’s shape enhances authenticity.
Applying the Mesh Pattern to the Cap
- Use the mirror modifier to ensure symmetry if your pattern needs to be identical on both sides.
- Position the mesh object behind the crown, aligning it precisely with the cap’s contours.
- Merge or join the mesh pattern with the main cap structure if necessary, maintaining a clean topology for seamless looks.
Refining Details for Commercial Quality
Optimizing Topology
Professional manufacturing standards require clean, quad-based topology for ease of manufacturing and texturing. Use Blender’s decimate or remesh modifiers to optimize the mesh without sacrificing detail.
Adding Thickness and Volume
- Apply the solidify modifier to give the cap a realistic thickness, essential for 3D printing or mold creation.
- Adjust thickness values to reflect ergonomic comfort and manufacturing tolerances.
Embedding Stitch Lines and Edge Details
- Use inset face techniques to add stitching subtleties along seams and the bill edge.
- Model specific edge features that will be crucial during manufacturing, such as seam allowances or hemmed edges.
Applying Materials for Realistic Presentation
Although the focus is on mesh creation, applying appropriate materials enhances visual communication for wholesale clients. Use Blender’s shader nodes to simulate mesh texture, transparency, and fabric properties, aiding in clearer product presentation and marketing.
Creating Texture Maps
- Develop high-resolution texture maps for the mesh pattern to simulate quality and breathability.
- Incorporate normal maps and displacement to add depth and realistic surface detail.
Finalizing the Model and Exporting
Once satisfied with the constructor mesh, double-check all details and ensure clean, non-overlapping geometry. Export your model in industry-standard formats such as OBJ, FBX, or STL, compatible with manufacturers’ workflows. Proper naming conventions and organized layers facilitate easier integration into production pipelines.
Partner with the Experts
Creating a professional, scalable trucker hat mesh in Blender is a skill that combines artistic craftsmanship with technical precision. For wholesale businesses eager to elevate their product offerings, partnering with experienced manufacturers is essential. At customhatsgolf.com, we specialize in manufacturing high-quality custom hats with low MOQs (minimum order quantity of just 100 units), competitive international shipping, and over 7 years of industry experience. Our ISO 9001:2015 certification ensures consistent quality standards, allowing you to confidently scale your brand with top-tier headwear products.